
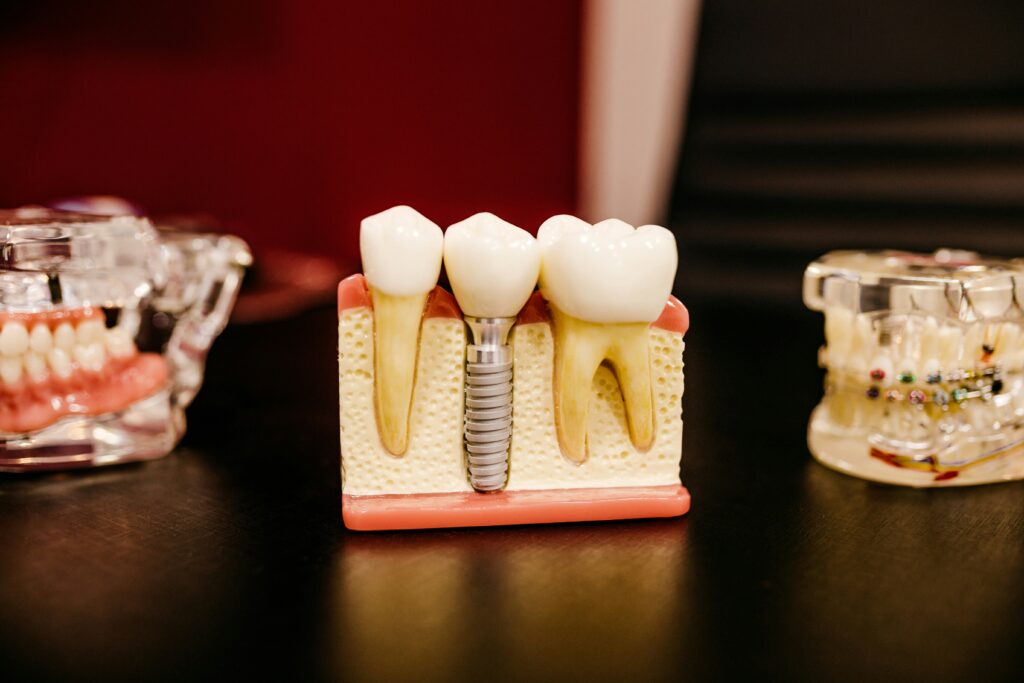
The Step-by-Step Guide to Getting Full Arch Dental Implants
Receiving full arch dental implants is not done in one or two visits to the dentist’s office. Rather, it’s a multi-step treatment process that can take several months to complete. Here, we outline what you can expect at each stage of treatment.
Step 1: The 3D diagnostic consultation
Prior to treatment, you will be scanned using Cone Beam Computed Tomography (CBCT). This is not a standard dental X-ray. It produces a three-dimensional image of your jaw so we can see your bone density, your bone height, and exactly where your nerves and sinuses are positioned.
Beforehand, the more we know, the better. Our surgical team digitally plans the exact angle and depth of each implant post using these images. This takes complications off the table, allowing us to deal with them here and now – such as fine bone, a low-sitting sinus, other teeth we may need to remove first.
This phase of treatment will establish whether or not you qualify for a process called immediate loading, which essentially has you walking out the door with temporary teeth the very same day as your installation.
Step 2: Extractions and bone preparation
If there are remaining teeth that are failing, they’re extracted before implant placement. That’s usually pretty simple. The more variable part is what happens to the bone underneath.
When teeth are lost the alveolar bone – the part of the jaw that held the roots – begins to shrink. It no longer receives the stimulation it needs, so the body gradually resorbs it. For patients who have been missing teeth for a number of years, this loss could be great enough that we can’t place an implant without some preparatory rebuilding.
Bone grafting rebuilds that volume. Graft material is placed in the deficient area and the body integrates it over several months into a solid foundation. For patients with severe bone loss in the upper jaw, zygomatic implants are sometimes used instead. These are extra-long posts anchored in the cheekbone, bypassing the need for a sinus lift or graft altogether.
Note that this all adds time to the overall timeline. Just so you know.
Step 3: Surgical placement of the implants
On the big day, you’ll be given local anesthesia or IV sedation based on your preference and your provider’s recommendation. The periodontist or oral surgeon will make small cuts in the gum tissue then insert those titanium posts right into the jawbone, at the precise angles planned out from the CBCT.
The decision to get Full Arch Dental Implants like All-on-4 or All-on-6 is different for everybody. Normally, four to six implants are placed per arch, tilting each one just where it needs to go to optimize contact with bone. In an All-on-4 scenario, you get four posts, with the rear two tilted at roughly 45 degrees to the back of your jaw where bone volume is highest – this negates the need for a graft. A six-post arrangement gives you two more supports; sometimes, even if you need a graft, this is the preferred approach.
If you’re cleared for immediate loading, you’ll get a temporary prosthesis on Day One. This isn’t the final arch, it’s meant to be light and get the job done, so you can eat soft foods and resume most of your normal schedule.
Step 4: Osseointegration – the waiting phase
This is what surprises most people. Once the surgery is over you must wait for three to six months while the titanium implants fuse naturally with the jawbone. This is osseointegration – it’s how the implants become a part of you, just like your natural tooth roots.
Your bone and blood adapt to the titanium intimately, growing in between the microscopically small spaces left by the implantation. The two objects merge.
Your gums are healing at the same time. They re-form like nothing was there.
Your temporary prosthesis, the full-arch of teeth you went home with after the surgery, cushions the healing implants from the disruptive effects of direct pressure. Your meals will be on the soft side, to give your jawbone time to heal and take to the implants.
The jawbone grows right up until it touches the titanium. Then stops dead. Perfectly locking the implants where your body most wants them.
This is a living bone that is starting to hold things with the confidence of a vacuum seal.
By the time your final prosthesis is placed the implants are a straight-up part of your jawbone and above your gum line, and good luck popping those things out.
Step 5: Designing and fitting the final prosthesis
Once osseointegration has been verified – usually by taking another CBCT scan or doing some clinical testing – the prosthetic process comes next. Digital impressions are made of your mouth to capture the precise position of the abutments (the junction pieces that are connected to each implant post) and the relationship between your upper and lower jaw.
A dental lab uses those impressions to create your final arch. For most people, that arch is created from zirconia, which is extremely hard and stain-resistant and made to match the shade of natural teeth. Some are made from high-end acrylic. In any event, your prosthetic is manufactured exactly to suit your bite.
At the appointment for the fitting, the arch is screwed right onto the abutments. This is a fixed connection, not something you can take on and off at home. You’ll then get your bite fine-tuned, the fit checked, and that’s it: you’ve got a fixed, stable set of teeth that reacts just like natural teeth.
What to expect from the full timeline
The total process typically runs six to twelve months, depending on whether bone grafting is needed and how quickly osseointegration progresses. That’s longer than most patients initially expect, but each phase has a clear purpose. Nothing in the sequence is filler – it’s all building toward a result that, with proper care, should last decades.
If you’re weighing full arch restoration, the clearest first step is the CBCT consultation. Everything else depends on what that scan shows.